The Essential Steam Deck Settings
The Steam Deck is an awesome handheld gaming PC. But with all PCs, there are lots of settings you can tinker with. What do you enable and what do you disable? You can spend hours turning options on and off to figure out what is best. There are gaming, graphics, and controller settings, not to mention the performance overlay.
Get them wrong and you can suffer from slow download speeds, terrible graphics, and find your Deck has overheated and is stuck in a boot loop. Find out how to prevent this.
Gaming Mode Settings
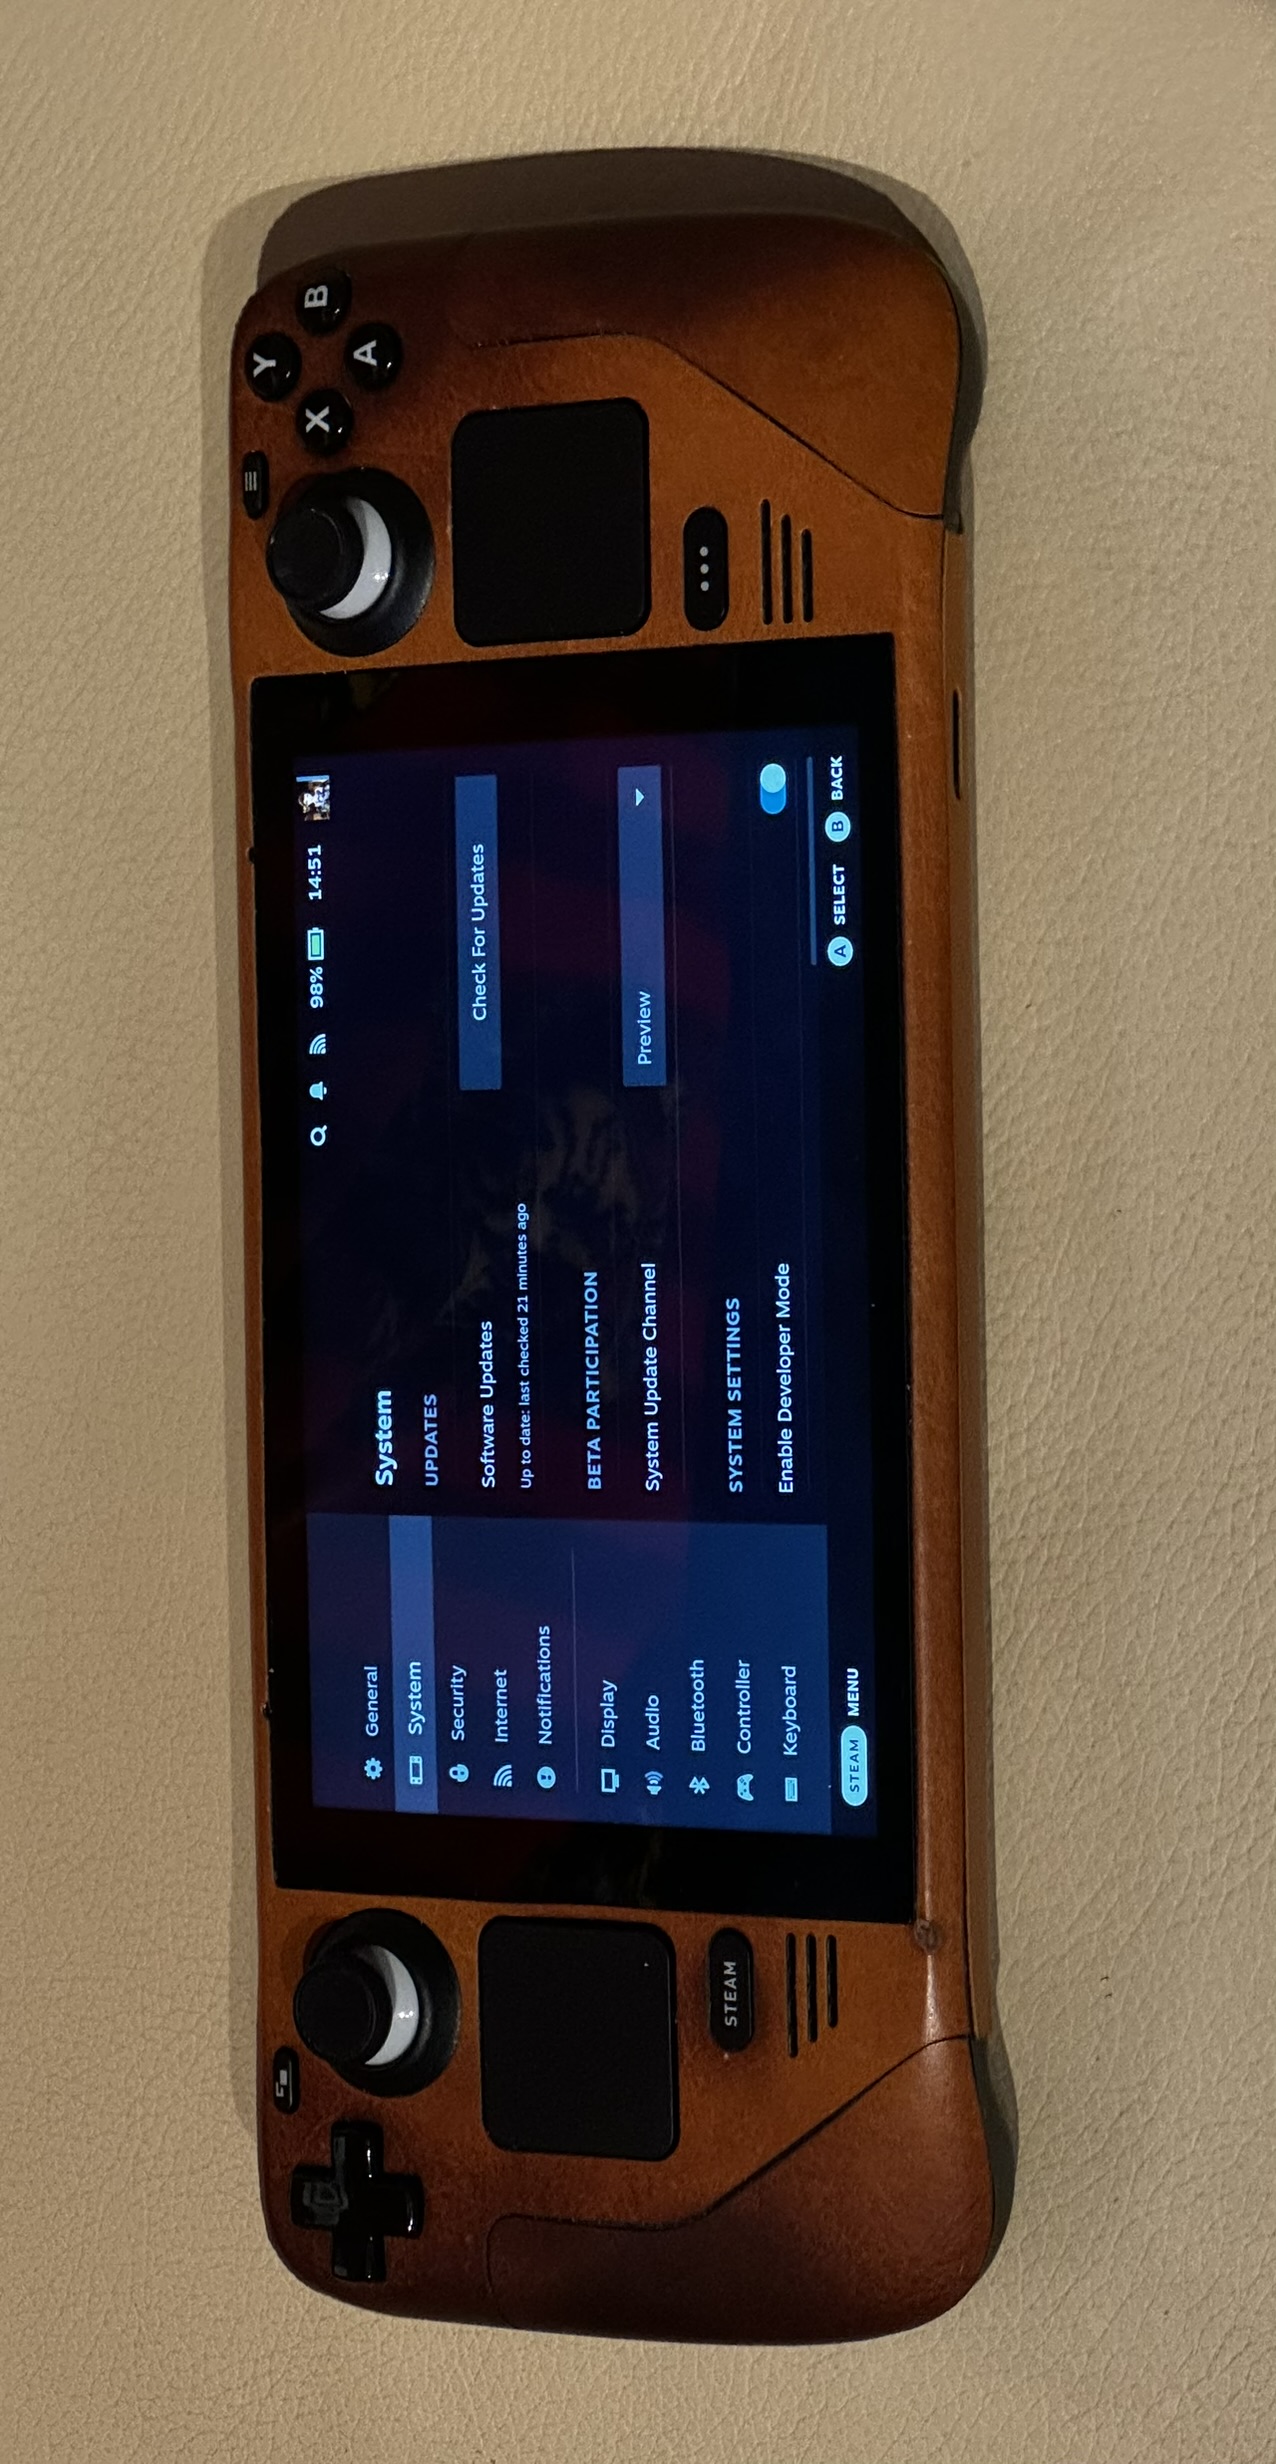
The first area you need to look at is Settings. If you’ve used Steam before, some of your settings will sync across but there are some vital changes to make. Press the Steam button and go to Settings > System.
Set Update Channel
By default, the update channel will be set to Stable. I recommend you switch to Preview or Beta. There have been major updates in the past that have taken a long time to get to Stable.
I run Beta and haven’t had any issues (except for having to occasionally install a pre-release version of Decky Loader - a Steam Deck plugin ecosystem) but updates are very frequent so you may prefer Preview.
Once changed, you will need to restart. Afterwards, you need to check for updates and then apply the latest update for your new update channel.
Fix Download Speed
The most important change you need to make in Settings is to enable Developer Mode. Developer Mode unlocks additional information about your Deck such as version information and vitally, the Developer tab which contains the Enable Wifi Power Management toggle.
If you’ve tried to download a game and noticed your speed is slow and has nowhere near maxed your internet connection, disable this setting.
Update Your Desktop Controls
When you switch to Desktop mode, your Steam Deck controls will change to better mimic a desktop environment. This is where the Steam Deck’s trackpads come into their own. There is one small change though that I find is vital when navigating Desktop mode.
Go to Settings > Controller > Desktop Layout and click Edit Layout. Then, set Trackpad > L Click to Right Mouse Click.
Now, you will be able to use the trackpads to navigate the SteamOS desktop and be able to mouse click by clicking the trackpads.
Customise Your Deck
Not all Steam Deck settings are functional. You can prettify your Deck with keyboard themes and startup movies. In Settings > Keyboard, you can choose a different keyboard theme and buy more in the Points Store. You earn points by buying Steam games. My favourite is Totally Tubular.
You can also choose different Startup Movies to play when you power on, wake up, or switch from Desktop to Gaming Mode, on your Deck. Startup Movies are also bought from the Points Store. I recommend turning on Shuffle Startup Movie if you have multiple and turning off Use as Wake Movie since it takes longer for the Steam Deck to wake up. My favourites are Relics and Hades.
Controller Settings
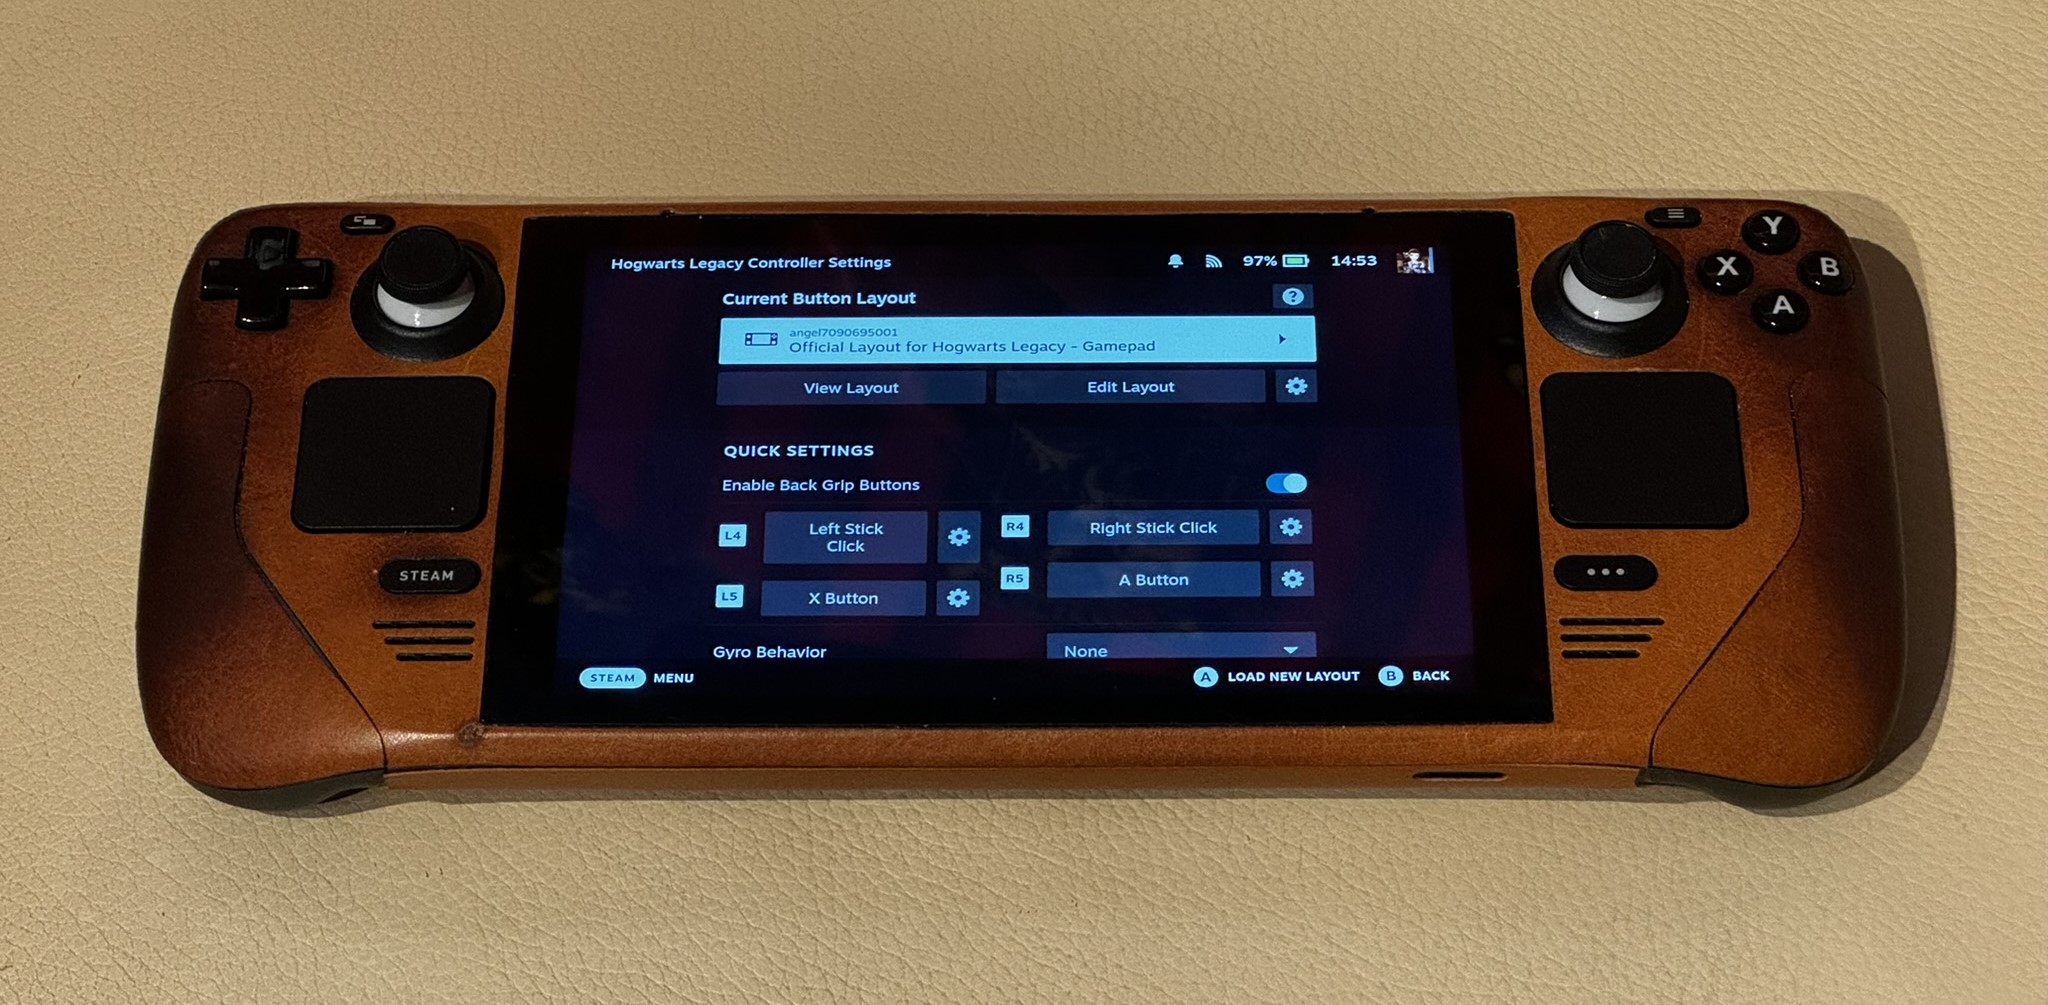
The second area is game controls. SteamOS and the Steam Deck excel with controller customisation. Once you’ve launched a game, press the Steam button and go right twice to click on Controller settings. Here you can view, edit, and customise controller layouts.
For PC games, I tend to stick to the official layout and remap buttons in-game but one of the Deck’s standout features is the four programmable back grip buttons.
Under Quick Settings, enable the Enable Back Grip Buttons toggle and then you can assign commands to them.
I tend to assign Left Stick Click and Right Stick Click to L4 and R4 because it can be a bit of a reach on the Steam Deck and I don’t like the feel of clicking thumbsticks.
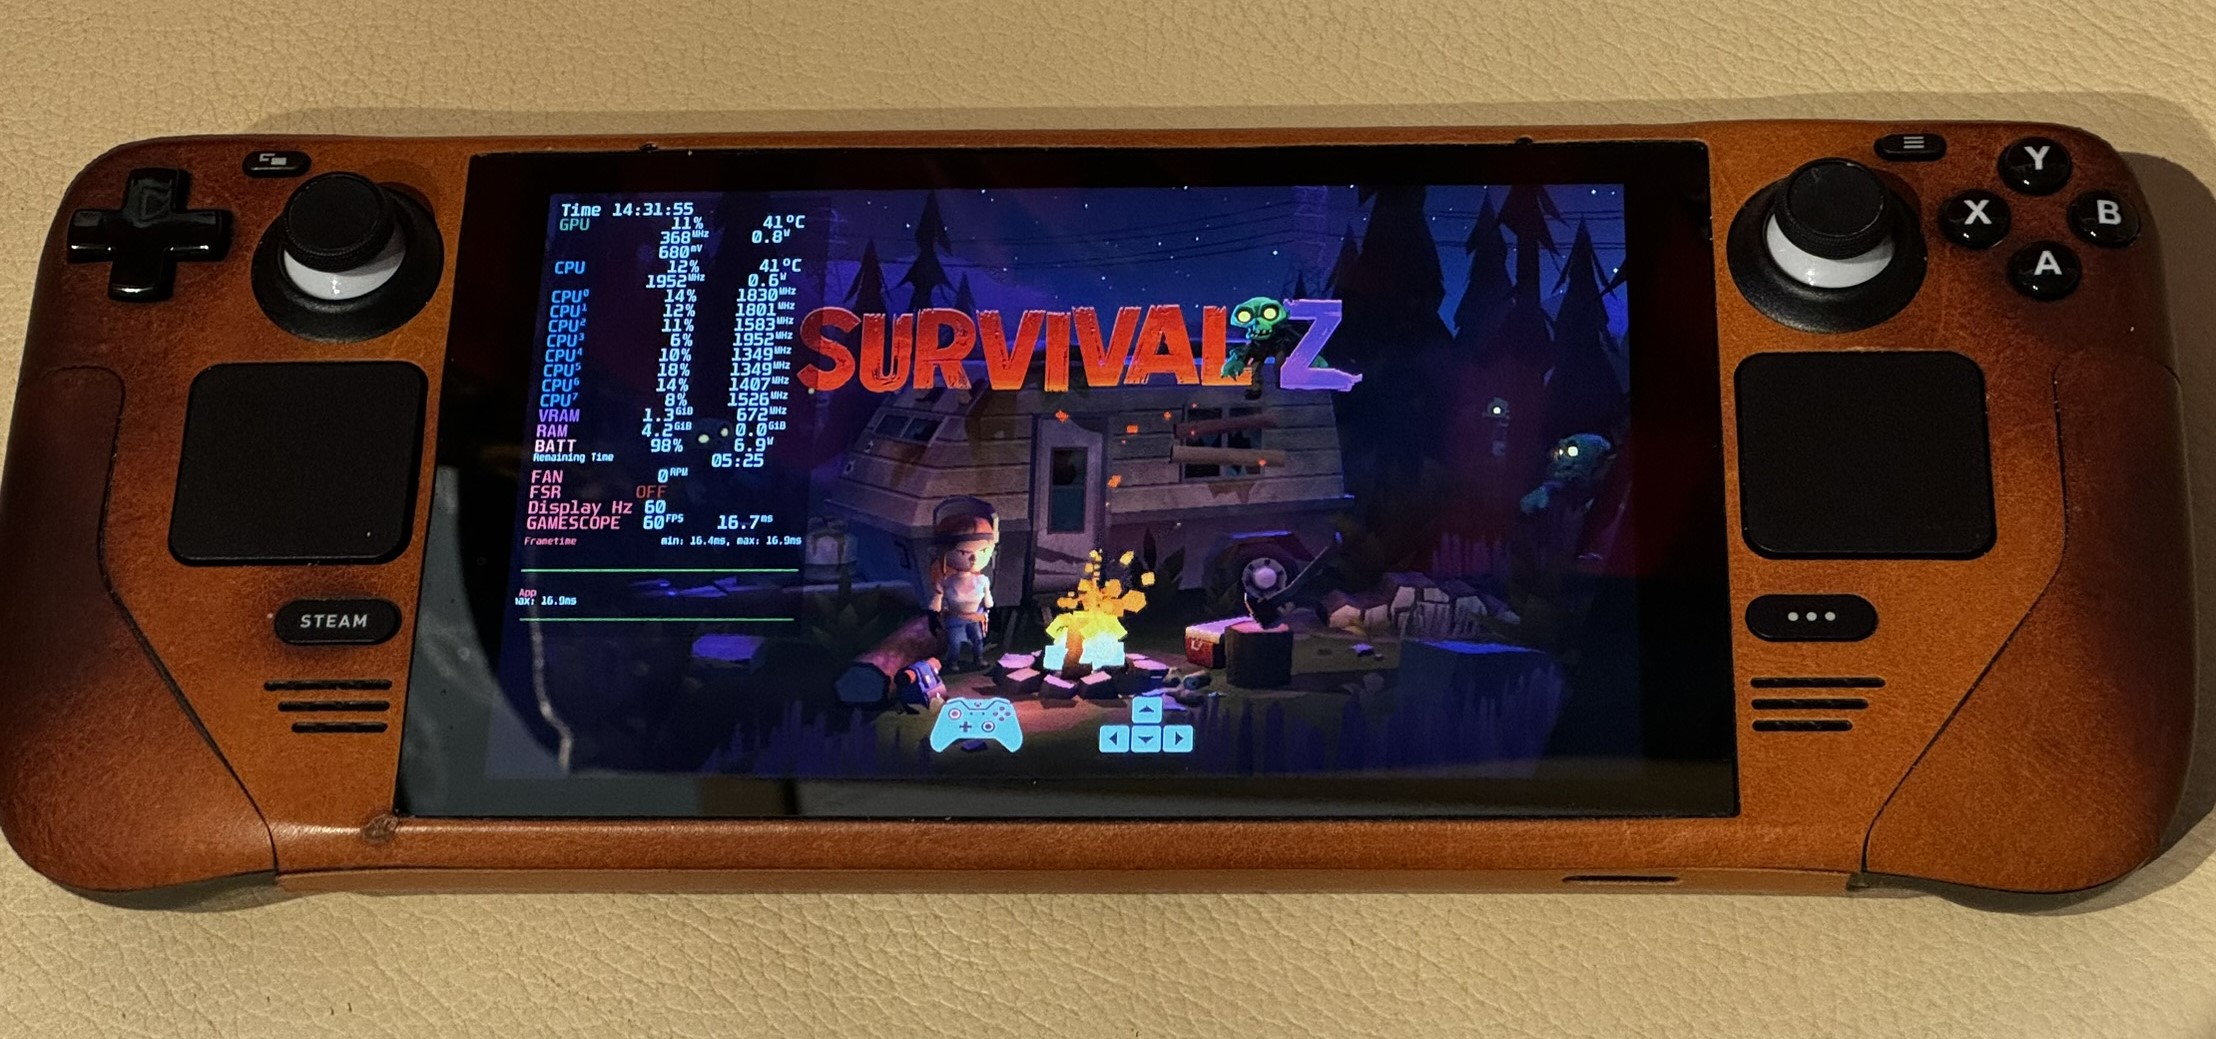
Performance Overlay
The third area you should understand is the in-game Performance settings. Once you have launched a game, press the … button to bring up the Quick Access menu.
In the Performance (battery icon) tab, set the Performance Overlay Level to 3. This will show additional performance statistics in a box in the top left of the screen. This is handy when you’re setting graphics settings for a game.
I turn on the per-game profile to set a custom performance profile per game. The only setting I change is to lower the Frame Limit from 60 FPS to 30 FPS so I can increase the graphics quality. I don’t set this globally because some emulated titles run at 60 FPS and 60 FPS is easily achievable in less intensive indie titles.
Graphics Settings
The last area is the graphics settings of the games you’re playing. All games will set a default graphics quality depending on what they think the Steam Deck can handle. Depending on whether the game you are playing is Deck Verified or not, this can either be conservative or way over the top.
There are many in-depth guides to specific games but I recommend customising and testing graphics settings to suit your preferences. I have four general rules of thumb.
Four Areas To Change
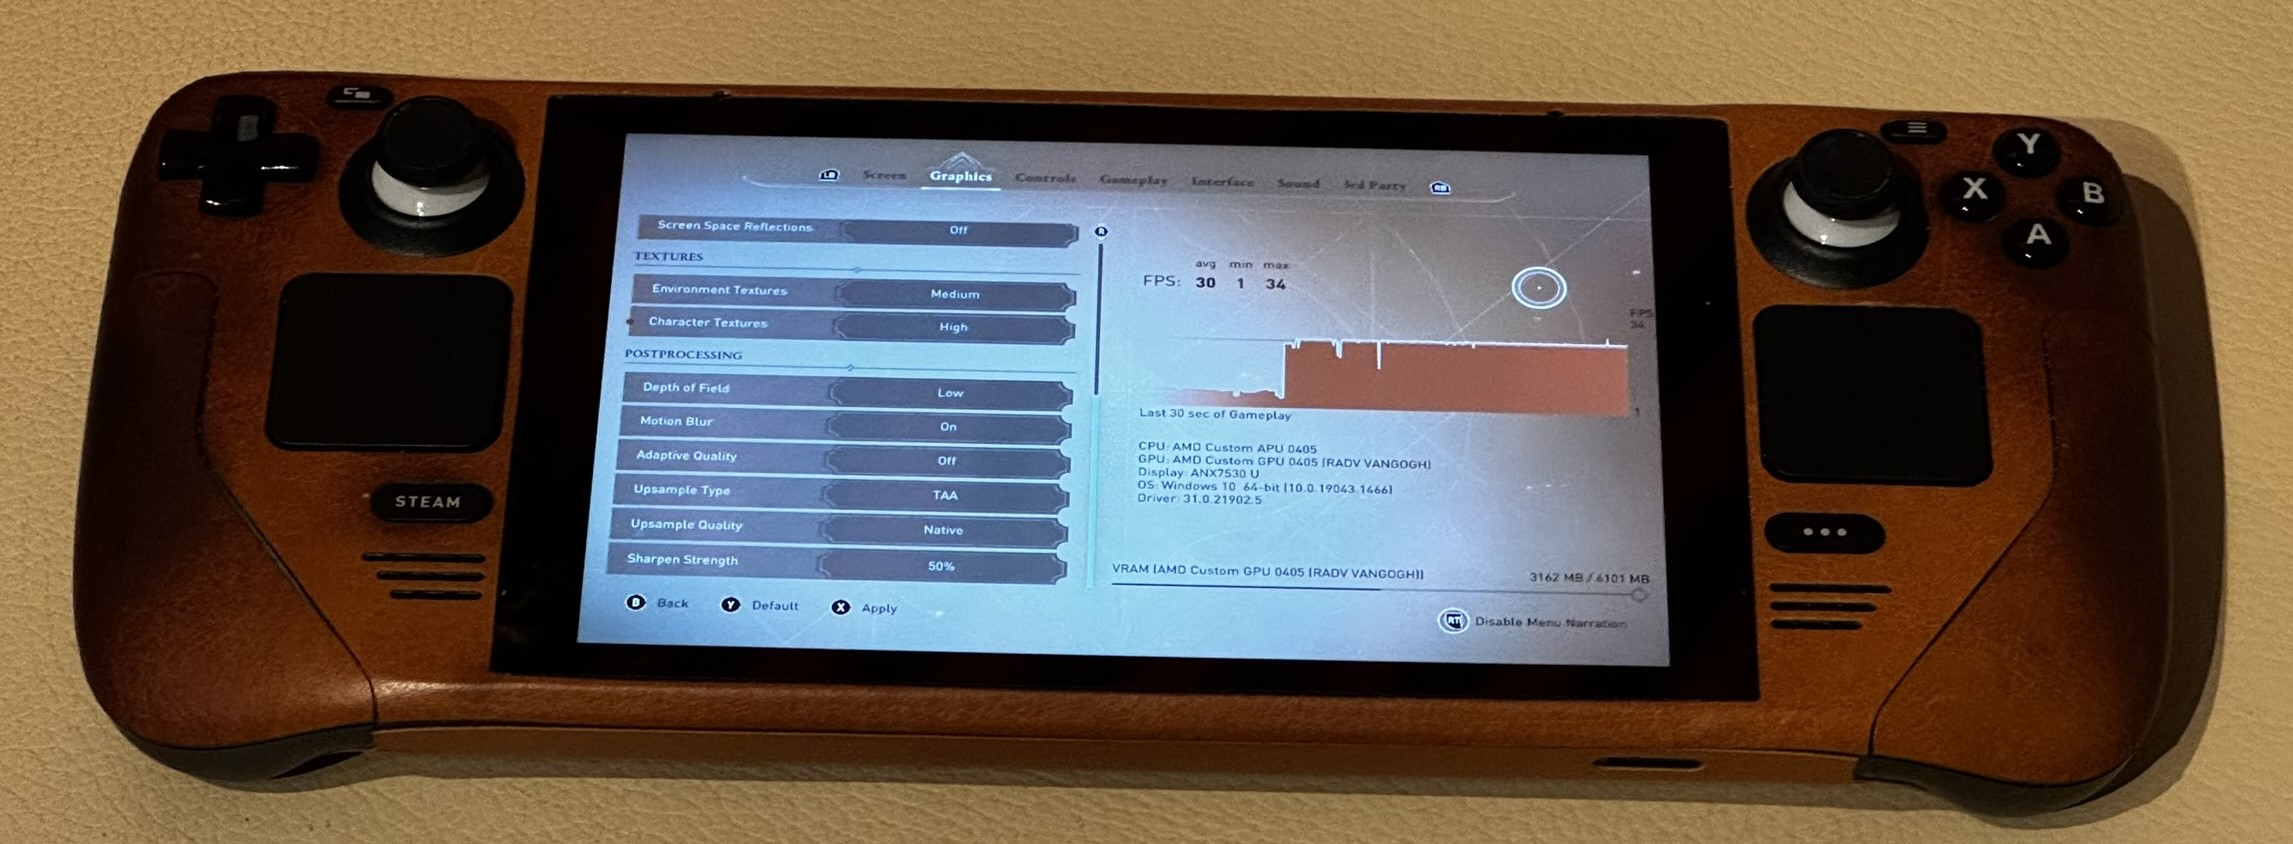
- Disable FSR
FSR (Fidelity Super Resolution), makes a game run under the native resolution which will make the game less intensive to run and then try to use upscaling to make the game look better at the lower resolution. This is great for higher resolutions like 4K which can run at 1080p and use upscaling but for lower native resolutions like the Steam Deck, it mostly looks terrible.
If you do want to use FSR, use the native support in your game’s graphics settings (often under Upsample Type) and use FSR 2. Don’t use the FSR toggle in Quick Settings because it uses the older FSR 1 and doesn’t provide as many settings as you get in the game itself.
- Set the Aspect Ratio and Resolution
The Steam Deck has a 16:10 aspect ratio so the native screen resolution is 1280x800 and not 1280x720. This can result in a small black bar at the top of the screen when games default to a normal 16:9 aspect ratio. The black bar is handy when you have the Performance Overlay set to 2 where the statistics fill the gap but for normal gameplay, you want the game to fill the screen.
Some games do this by default and some don’t so you may need to manually set the game’s aspect ratio to 16:10 and resolution to 1270x800.
If your game doesn’t have these options, then search for an ultrawide mod on sites like NexusMods or PCGamingWiki. While these mods are commonly used for ultrawide aspect ratios such as 21:9, you can use them for the Deck’s 16:10 aspect ratio.
- Set FPS
The FPS you should set depends on the game and your preference but I recommend disabling adaptive quality (to prevent graphics quality from going up and down which is jarring) and for intensive games setting the limit to 30 FPS. For indie games, 60 FPS is great. If your game doesn’t have FPS settings, you can set this in the Quick Access settings.
- Set Graphics Quality
The big one. Graphics Quality settings are very subjective. I recommend going for a custom preset rather than a default Low, Medium, High or Ultra so you can tweak things to your liking.
I set Crowd Density and Depth of Field to Low to reduce the game elements you can see right in front of you so you can maximise their quality. Then, set Volumetric Cloud to Low or Medium because that can be a huge performance drain. Then, I set the rest of the settings such as World Details, Shadows, and Anti-Aliasing to a mix of Medium and High.
I also turn off Film Grain and Chromatic Abberation but that is a purely aesthetic choice.
Some games have more graphics settings than others so if you want to improve performance and graphics further, check out Nexus Mods to see if there are any performance mods or configuration files for your game. Sometimes there can be Steam Deck specific presets such as Steam Deck Optimizations for Dragon Quest XI S.
This is essential if you go down the graphics mods route to improve graphics even further. Installing high quality texture mods intended for high-end gaming PCs can easily ruin your performance.
Test Your Graphics Settings
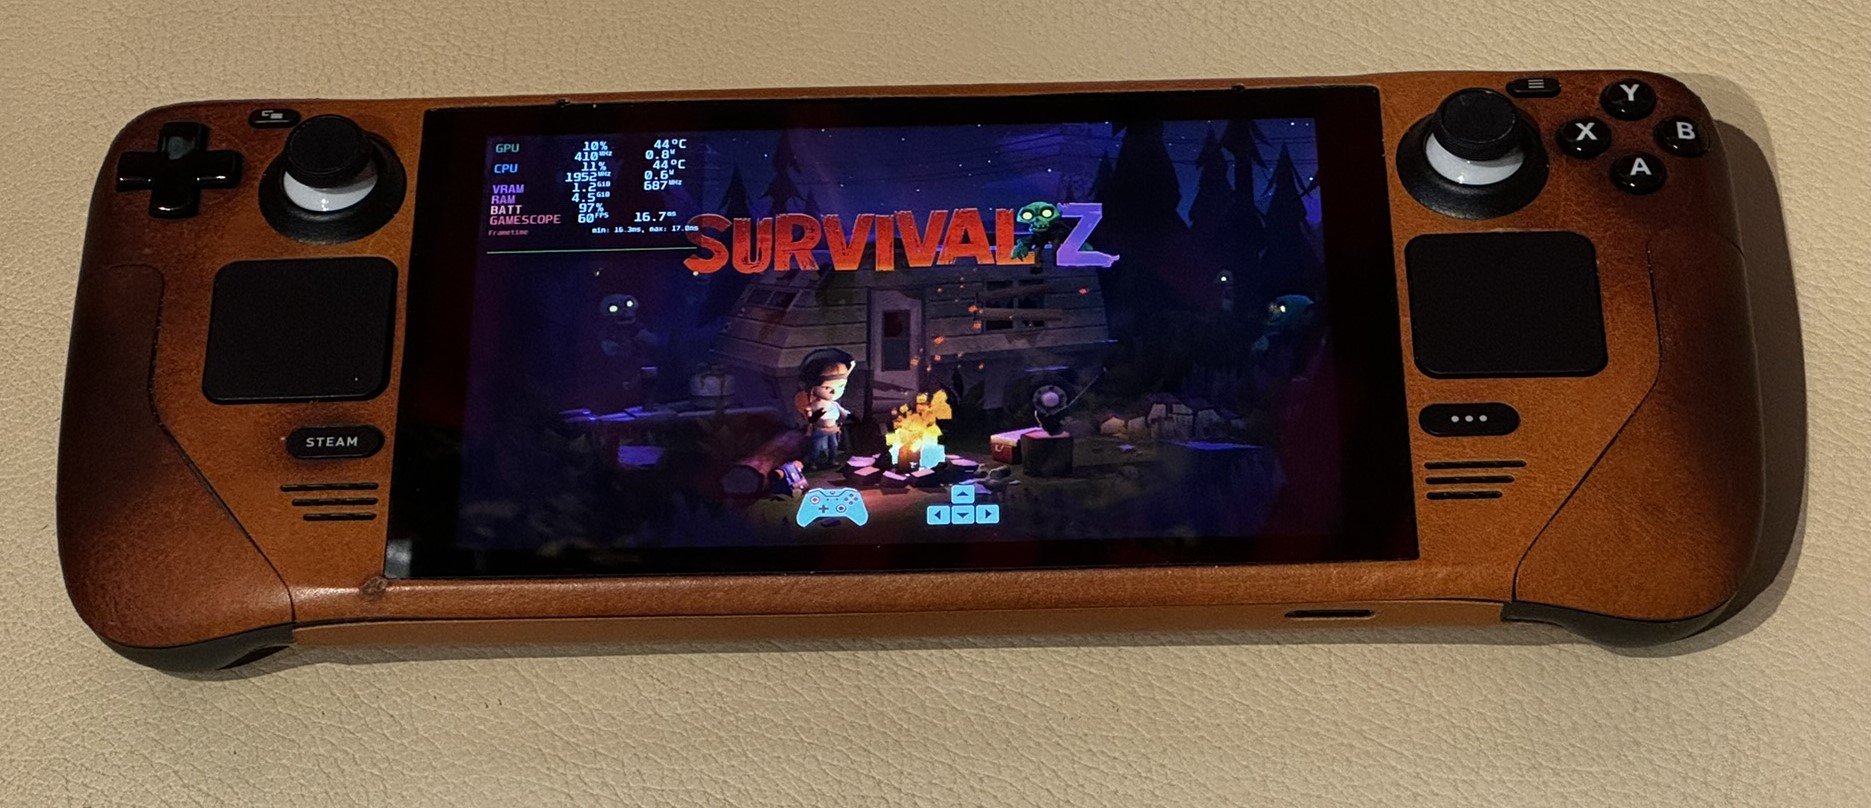
Finally, you should monitor the performance statistics when playing a game for the first time, specifically the GPU and CPU temperature. 90° is when it starts to thermal throttle and reduce performance to keep the temperature at a safe level.
However, the true test is when playing the game. If you suddenly get a huge frame rate drop to single digits, it’s likely your Deck has thermal throttled. Checking on the performance statistics will confirm this.
If your GPU or CPU is stuck at a low MHz frequency such as 399 MHz, your Deck has thermal throttled. Put the Deck into sleep mode and wait for it to cool down a bit should make it clock back up to normal performance. If it doesn’t, you may need to force restart the Deck.
If this happens, definitely reduce the graphics settings of the game.
If it won’t boot, enter Battery Storage Mode by holding down the volume up button and pressing the power button simultaneously. Using the D-Pad, go to Setup Utility > Power and select Battery storage mode. Plug the Steam Deck in using the official charger and then power on as normal.
Settings Complete
That’s the essential areas you should look into when using your Steam Deck. Tweaking these settings should help you avoid bugs and understand how to improve controls and optimise your games.
Subscribe below to receive next week’s post: Installing Steam Deck Games: What’s Deck Verified and Proton Compatibility and let me know your experiences with Steam Deck settings and game optimisation in the chat.